
From the blog

Arts, Apps, and Taps
February 23, 2024
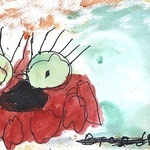
Call for Art- Art, Apps & Taps!
February 23, 2024
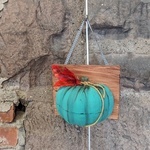
3D Pumpkin Art
September 29, 2023

Call for Art 2023
March 2, 2023
-150x150-150x150.jpg?51)
Art, Apps & Taps 2023
February 17, 2023

Messy Recipes for the Kids!
January 5, 2022
Add Student